Stampendous is thrilled, once again, to be a Super Sponsor for the Fall/Winter 2021 Coffee Lovers Blog Hop! We have some great images for this Holiday Season to share with you today, and our team will be sharing with them as well. You’ll find all the details of the main blog hop and all the great sponsors here –
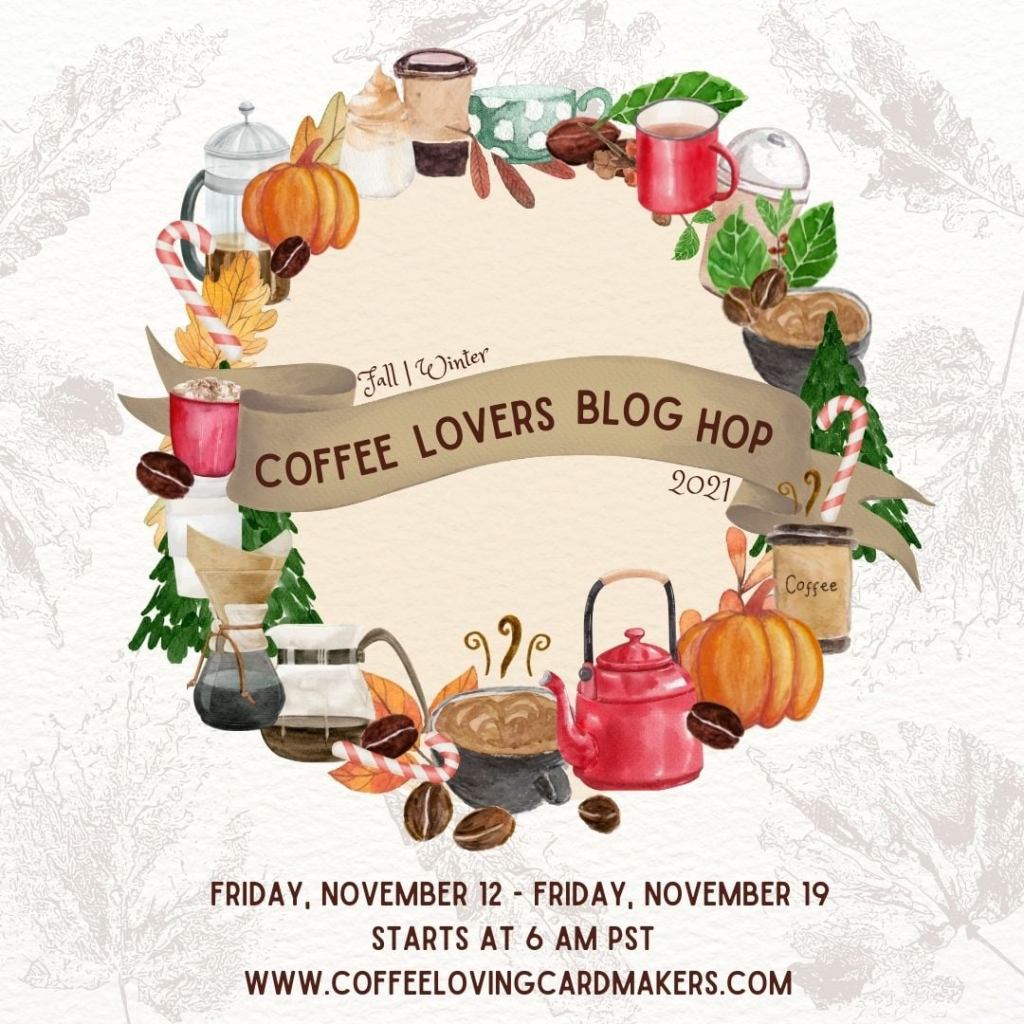
Be sure to stop by and enter for some wonderful prizes from tons of top manufacturers in our industry!!
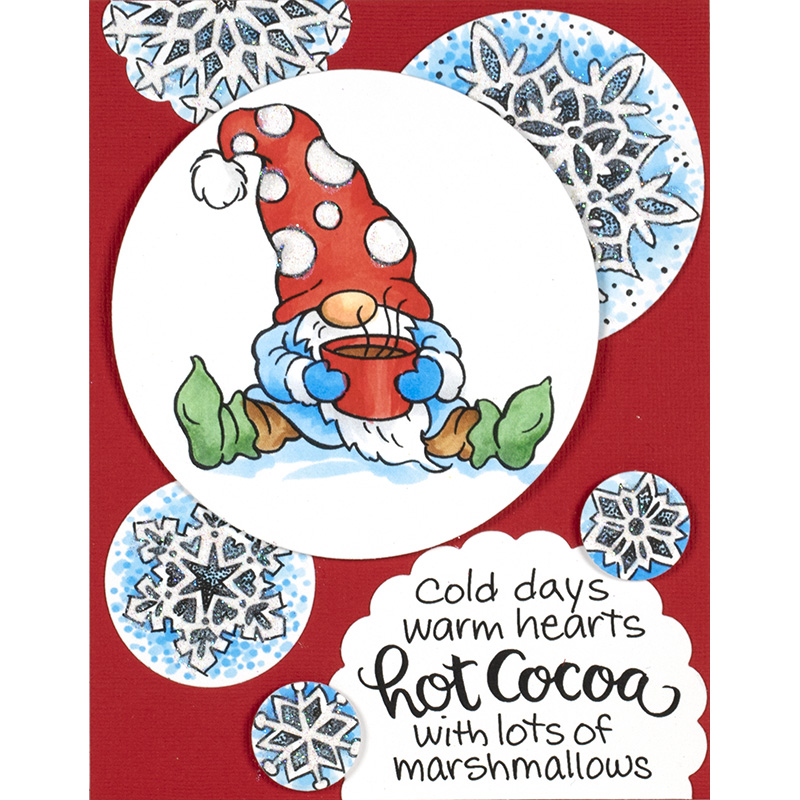
The hop always features coffee or any caffeinated beverage as a focal point, and this year, we’d love you to consider our adorable new Cocoa Gnome! He wants to share his hot chocolate (or coffee) with YOU!
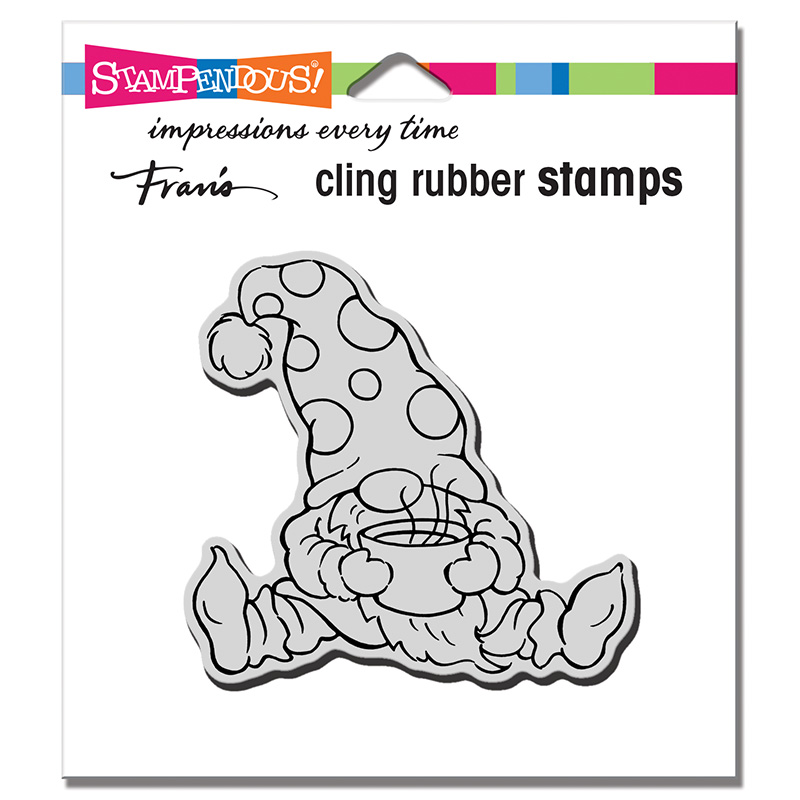
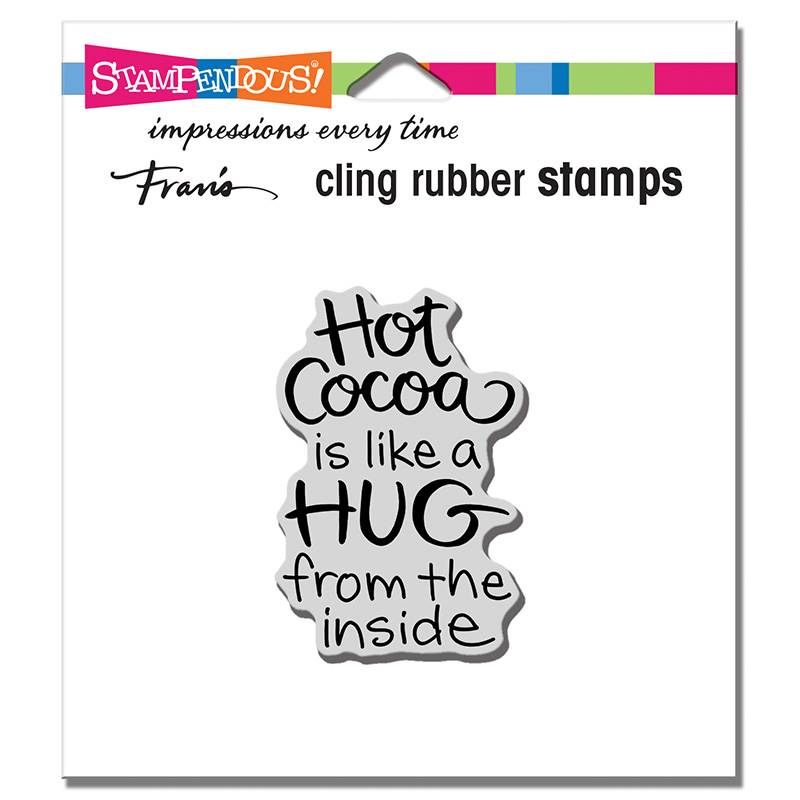
We’re offering this sweet gnome stamp as a Super Sponsor prize to one lucky winner in the blog hop with a US address. PLUS, we’ll throw in the new Cocoa Hug sentiment –
These two great prizes could be yours when you visit the Coffee Lovers Blog Hop page at –
Our wonderful design team have been sharing with some coffee/chocolate/cocoa images this season. Check out their great projects on their blogs here, then visit your local stamping and scrapbooking store or find them at https://stampendous.com .